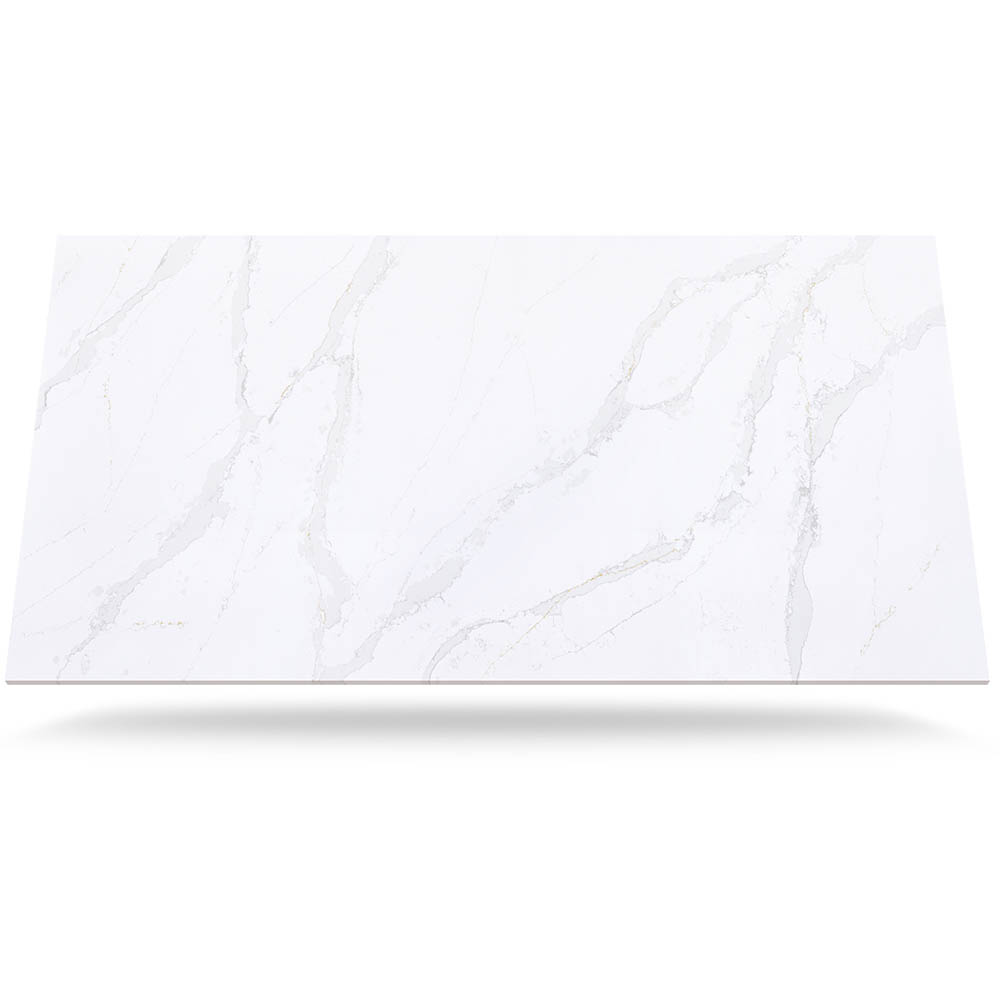
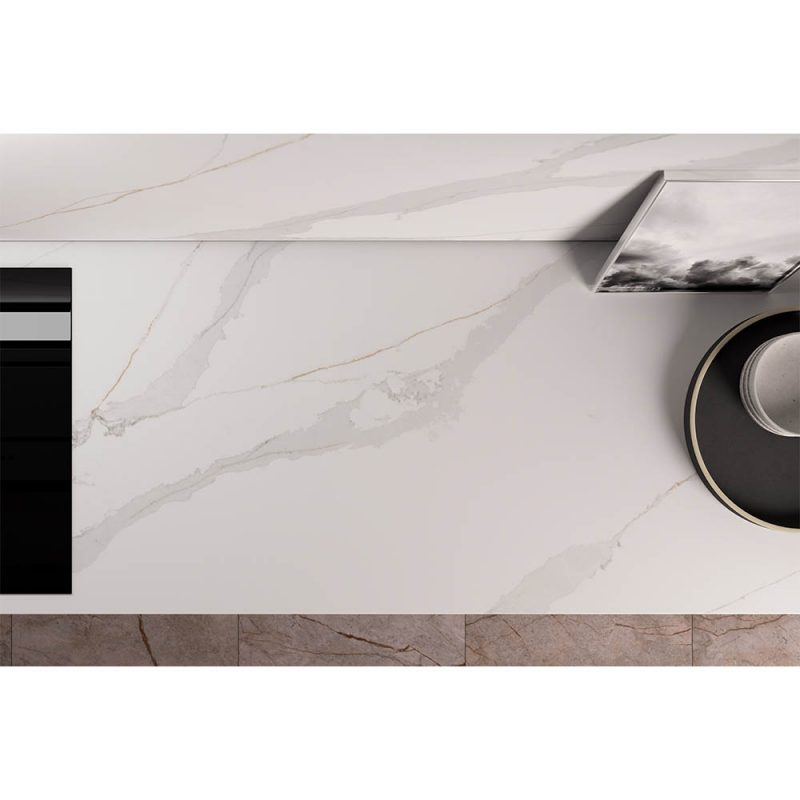
Welcome to our comprehensive step-by-step installation guide for Calacatta marble countertops. If you’re looking to add elegance and sophistication to your kitchen or bathroom, Calacatta marble is an excellent choice. Known for its luxurious appearance and timeless beauty, Calacatta marble is a favorite among homeowners and interior designers alike. In this guide, we’ll walk you through the entire installation process, from measuring and preparing the area to applying the final sealant. Let’s dive in and discover how you can transform your space with Calacatta marble countertops.

This article interest may you. Which kitchen countertop to choose?
Pre-Installation Considerations
Before you embark on the installation journey, there are a few essential factors to keep in mind. These considerations will ensure a successful and hassle-free installation process.
1. Assessing Your Space
Take a thorough assessment of your space to determine the suitability of Calacatta marble countertops. Measure the area where the countertops will be installed, including the length, width, and depth. It’s important to note that marble is a natural stone and can have variations in color and veining. Embrace these natural variations as they add character and uniqueness to your countertops.
2. Determining the Quantity of Marble
Based on the measurements you’ve taken, calculate the quantity of Calacatta marble needed for your countertops. Consider any cutouts required for sinks, cooktops, or other fixtures. It’s advisable to purchase slightly more than the calculated quantity to account for any potential mistakes during the installation process.
3. Choosing a Professional Installer
While it’s possible to install Calacatta marble countertops yourself, it’s highly recommended to hire a professional installer for optimal results. Experienced installers have the necessary expertise and tools to handle delicate marble slabs and ensure a seamless installation. Additionally, professionals can provide valuable advice on maintaining and caring for your marble countertops.
4. Preparing the Substrate
Ensure that the substrate, which is the surface on which the marble will be installed, is clean, level, and structurally sound. Any unevenness in the substrate can affect the final installation. If necessary, make the required repairs or adjustments before proceeding with the installation.
Step-by-Step Installation Guide for Calacatta Marble Countertops
Now that you’ve considered the pre-installation essentials, let’s move on to the step-by-step installation process for Calacatta marble countertops. Follow these detailed instructions to achieve a flawless and durable installation.
1. Gathering the Necessary Tools and Materials
Before you begin, gather all the tools and materials required for the installation. Here’s a list of essential items:
- Calacatta marble slabs
- Measuring tape
- Level
- Carpenter’s square
- Diamond-tipped saw
- Nitrile gloves
- Safety goggles
- Masking tape
- Epoxy adhesive
- Notched trowel
- Rubber mallet
- Wet polisher
- Stone sealer
- Clean cloths
2. Preparing the Work Area
Clear the work area and ensure you have ample space to maneuver the marble slabs. Lay down protective coverings to prevent any damage to the surrounding surfaces. It’s also advisable to open windows or use ventilation to ensure proper air circulation during the installation process.
3. Dry Fitting the Marble Slabs
Before applying any adhesive, perform a dry fit of the marble slabs to ensure they fit perfectly and align with your expectations. Use a carpenter’s square and level to verify that the slabs are square and level. Make any necessary adjustments by trimming the slabs with a diamond-tipped saw.
4. Applying the Adhesive
Once you’re satisfied with the dry fit, it’s time to apply the adhesive. Use an epoxy adhesive specifically designed for natural stone applications. Apply the adhesive evenly on the substrate using a notched trowel, following the manufacturer’s instructions.
5. Setting the Marble Slabs
Carefully place the marble slabs onto the adhesive, starting from one end and working your way to the other. Use a rubber mallet to gently tap the slabs into place, ensuring a secure bond with the adhesive. Use a level to confirm that the slabs are perfectly aligned and level.
6. Polishing the Edges
To achieve a finished and polished look, it’s essential to polish the edges of the marble countertops. Use a wet polisher with diamond pads of progressively higher grits to gradually refine the edges. Follow the manufacturer’s instructions and maintain a steady, even pressure while polishing.
7. Sealing the Marble
To protect the marble from staining and etching, apply a high-quality stone sealer. Ensure that the marble is clean and dry before applying the sealer. Use a clean cloth to evenly distribute the sealer across the entire surface of the countertops. Allow the sealer to dry as per the manufacturer’s instructions.
8. Cleaning and Maintenance
Once the installation is complete, it’s crucial to establish a regular cleaning and maintenance routine for your Calacatta marble countertops. Avoid using abrasive cleaners or harsh chemicals that can damage the marble. Instead, use a mild pH-neutral cleaner specifically formulated for natural stone surfaces. Regularly wipe the countertops with a soft cloth or sponge to keep them clean and free from any spills or debris.
FAQs
1. How do I clean Calacatta marble countertops?
To clean Calacatta marble countertops, use a mild pH-neutral cleaner specifically formulated for natural stone surfaces. Avoid using abrasive cleaners or harsh chemicals that can damage the marble. Regularly wipe the countertops with a soft cloth or sponge to keep them clean and free from any spills or debris.
2. Can I install Calacatta marble countertops myself?
While it’s possible to install Calacatta marble countertops yourself, it’s highly recommended to hire a professional installer for optimal results. Experienced installers have the necessary expertise and tools to handle delicate marble slabs and ensure a seamless installation.
3. How do I protect Calacatta marble countertops from staining?
To protect Calacatta marble countertops from staining, apply a high-quality stone sealer. Ensure that the marble is clean and dry before applying the sealer. Use a clean cloth to evenly distribute the sealer across the entire surface of the countertops. Regularly reapply the sealer as per the manufacturer’s instructions.
4. Can I place hot pots and pans directly on Calacatta marble countertops?
It’s best to avoid placing hot pots and pans directly on Calacatta marble countertops. While marble is heat-resistant, sudden temperature changes can cause thermal shock and potentially damage the stone. Always use trivets or hot pads to protect the surface from heat.
5. How do I remove stains from Calacatta marble countertops?
To remove stains from Calacatta marble countertops, create a poultice using a mixture of baking soda and water. Apply the poultice to the stained area, covering it with plastic wrap. Allow the poultice to sit overnight, and then remove it the next day. Rinse the area with water and pat it dry. Repeat the process if necessary.
6. How often should I seal Calacatta marble countertops?
The frequency of sealing Calacatta marble countertops depends on the specific sealer used and the level of usage. As a general guideline, it’s recommended to reseal the countertops every 6 to 12 months. However, always refer to the manufacturer’s instructions for the sealer you’re using.
Conclusion
Congratulations! You’ve reached the end of our step-by-step installation guide for Calacatta marble countertops. By following these detailed instructions and considering the pre-installation essentials, you’re well on your way to transforming your space with the timeless beauty of Calacatta marble. Remember to take proper care of your countertops by regularly cleaning and maintaining them to ensure their longevity and stunning appearance. Enjoy the elegance and sophistication that Calacatta marble brings to your home!

